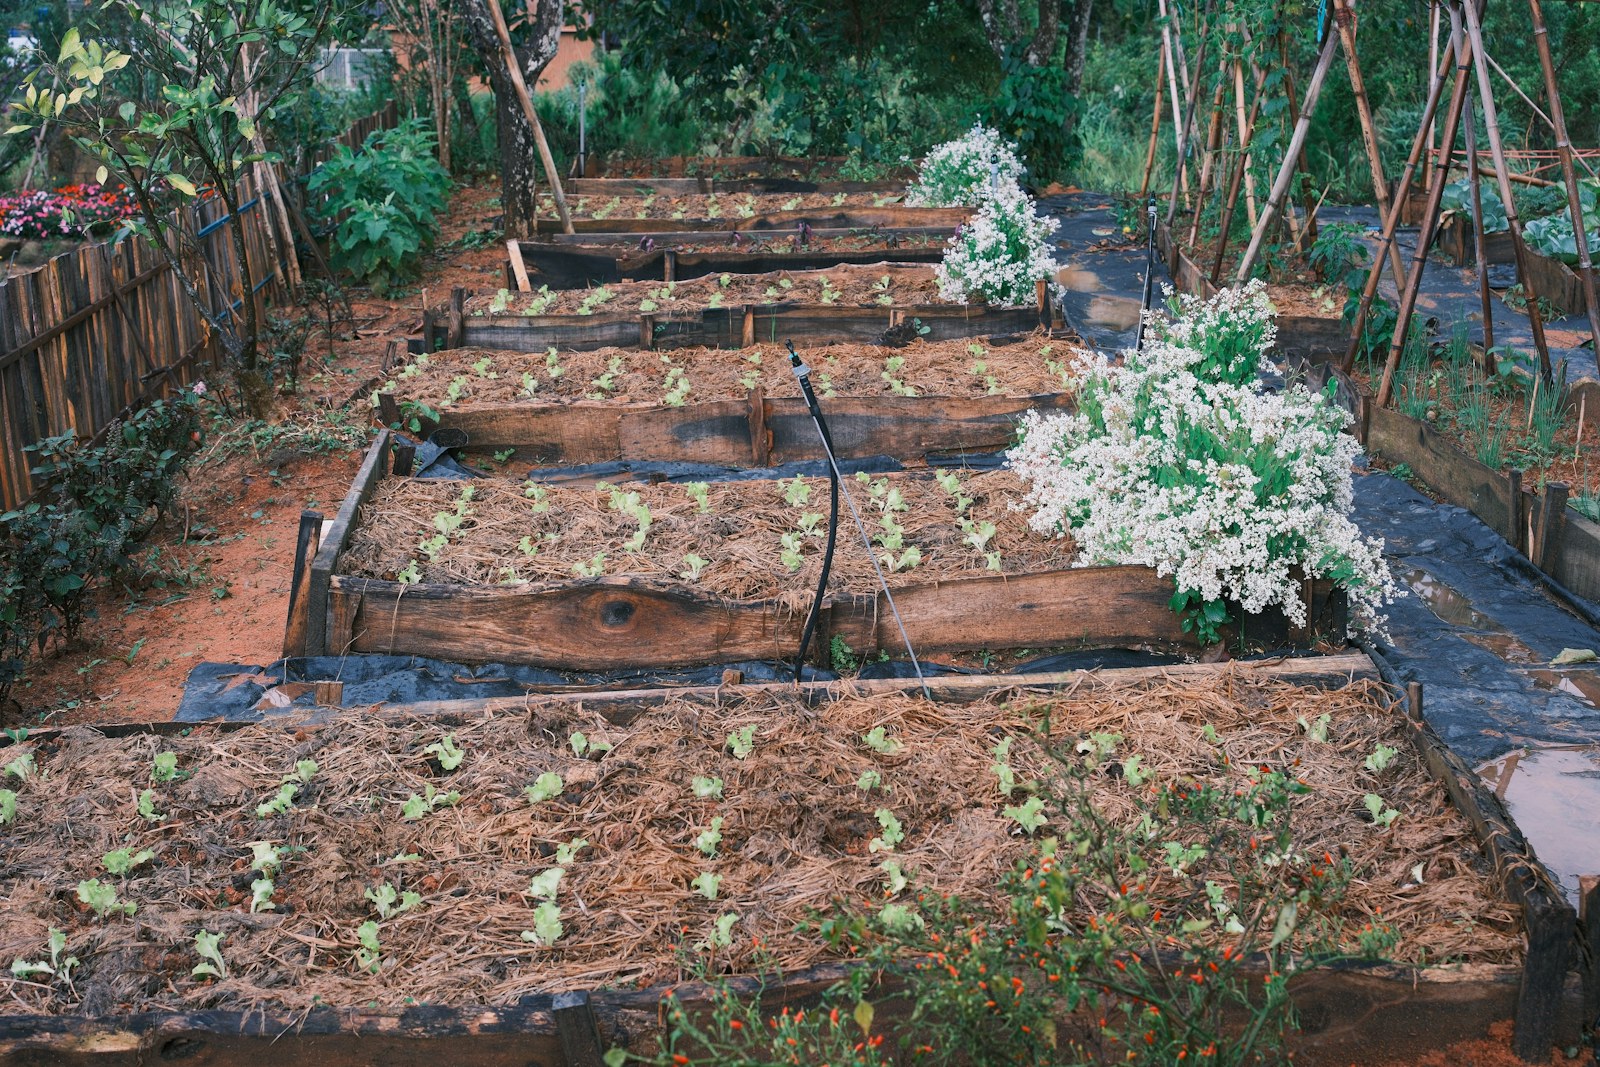
There is something deeply satisfying about walking into your backyard, stepping over to a tidy wooden frame, and pulling a few leaves off a buttercrunch lettuce or snapping a sun-warmed tomato straight off the vine. A raised garden bed makes that moment possible even if your soil is heavy clay, your yard is small, or your back would rather not spend hours hunched over a ground-level row. Best of all, building one is a perfectly doable weekend project, even if you have never built anything more ambitious than a bookshelf from IKEA.
Raised beds warm up faster in spring, drain better than in-ground plots, and give you total control over the soil mix your vegetables grow in. They also keep pathways tidy, discourage some pests, and create a defined, attractive feature in your yard. If you have been thinking about growing your own food but felt intimidated by the learning curve, a raised bed is the most forgiving place to start.
Why a Raised Bed Is Worth the Effort
Before we get to the sawdust and screws, it helps to understand why raised beds are so popular among home gardeners. The benefits are practical, not just aesthetic.
First, you control the soil. Most residential lots have thin, rocky, or compacted soil that resists improvement. With a raised bed, you skip years of amending in-ground dirt and start with a perfect growing medium from day one. Second, drainage is built in. Vegetables hate wet feet, and the elevated structure lets excess water escape freely. Third, the warmer soil in spring means you can plant earlier and extend your season into fall.
Raised beds also reduce bending. A bed that is 12 to 24 inches tall puts most of the work at waist height, which is easier on backs and knees. If you build a frame wide enough to reach across (no more than 4 feet), you can plant, weed, and harvest without ever stepping into the bed and compacting the soil.
Planning Your Bed: Size, Location, and Layout
The classic raised bed is a rectangle roughly 4 feet wide by 8 feet long, about 12 to 18 inches deep. The width is the most important number: any wider and you cannot comfortably reach the middle without stepping in. The length can be adjusted to fit your space, but 8 feet is a sweet spot because it divides neatly into standard lumber lengths, which means fewer cuts and less waste.
For depth, 12 inches is the practical minimum for most vegetables. Lettuce, herbs, radishes, and bush beans will thrive at that height. If you want to grow root crops like carrots or parsnips, aim for 18 inches so the roots have room to stretch. A deeper bed also holds more water, which means less frequent watering during hot spells.
Choose your location with care. Most vegetables need at least six to eight hours of direct sun per day, so pick the sunniest spot you have. Morning sun is more valuable than afternoon sun, because it dries dew off the leaves quickly and reduces fungal problems. Place the bed where you can see it from a window or the back door: out of sight often means out of mind, and a neglected garden is a disappointing one.
Also think about water. Run a hose to the bed, or position it close enough to a spigot that a lightweight soaker hose can reach. Dragging a heavy can across the lawn gets old by mid-July.
Materials and Tools You Will Need
Cedar and redwood are the most popular choices for raised bed frames because they naturally resist rot and insects. They are not cheap, but a well-built cedar bed will last 10 to 15 years without chemical treatment. Avoid pressure-treated lumber for vegetable beds if you have any concerns about chemicals leaching into the soil, although modern ACQ-treated wood is generally considered safe. Untreated pine works if you are on a tight budget, but expect to replace the bed in five to seven years.
For a standard 4-by-8-foot bed, you will need:
- Two 2x10 boards, 8 feet long (the long sides)
- Two 2x10 boards, 4 feet long (the short sides)
- One 4x4 post, cut into four 18-inch lengths (corner braces)
- Exterior wood screws, 3 inches long (about 24 of them)
- Stainless steel staples or landscape fabric (optional, to line the bottom)
- Weed-blocking landscape fabric (optional)
Tools are simple: a tape measure, a pencil, a circular saw or handsaw, a drill with a driver bit, a square, and a level. A second pair of hands makes positioning the boards easier, but it is doable solo.
Step-by-Step Build
Set aside a Saturday morning for this project. Most people can finish in three to four hours, including breaks for coffee and admiring your handiwork.
Cut your lumber
If your boards are not already cut to length, measure twice and cut once. The 2x10s for the long sides stay at 8 feet. The short side boards get cut to 4 feet. The 4x4 post gets cut into four 18-inch corner braces. Sand any rough edges so the boards are comfortable to handle.
Assemble the frame
Lay the boards out on a flat surface to form a rectangle. Place a corner brace inside each corner, flush with the top and bottom edges of the boards. Drill pilot holes to prevent the wood from splitting, then drive two screws through each board into each corner brace. You will end up with eight screws per corner, two at the top and two at the bottom, for a sturdy joint.
Prepare the site
Choose your spot and remove any sod or weeds from the area. A flat site is easiest, but a slight slope is fine as long as you orient the long side across the slope. Use a shovel to skim off the grass, then loosen the existing soil with a garden fork. This step is optional, but it helps the bed drain and allows roots to push deeper if they want to.
Place the bed and level it
Set the assembled frame in position and use a level to make sure it sits evenly. Slight adjustments with a shovel under the low corners are much easier before the bed is full of soil. If you are worried about weeds growing up from below, staple landscape fabric to the bottom of the frame, but leave gaps so earthworms and beneficial microbes can move freely.
Fill the bed
Now the satisfying part: filling the bed with a great soil mix. The classic recipe is one-third topsoil, one-third compost, and one-third coarse sand or coconut coir. For a 4-by-8-foot bed that is 12 inches deep, you will need roughly 32 cubic feet of soil, which works out to about a yard and a quarter of material in total volume.
Buying in bulk from a local landscape supplier is dramatically cheaper than bagged soil from a garden center. Many suppliers will dump a yard of mix right in your driveway for the price of a couple bags of the bagged stuff.
Mulch the top
Spread a one- to two-inch layer of straw, shredded leaves, or wood chips over the surface. Mulch keeps the soil cool, conserves moisture, and slowly adds organic matter as it breaks down.
What to Plant First
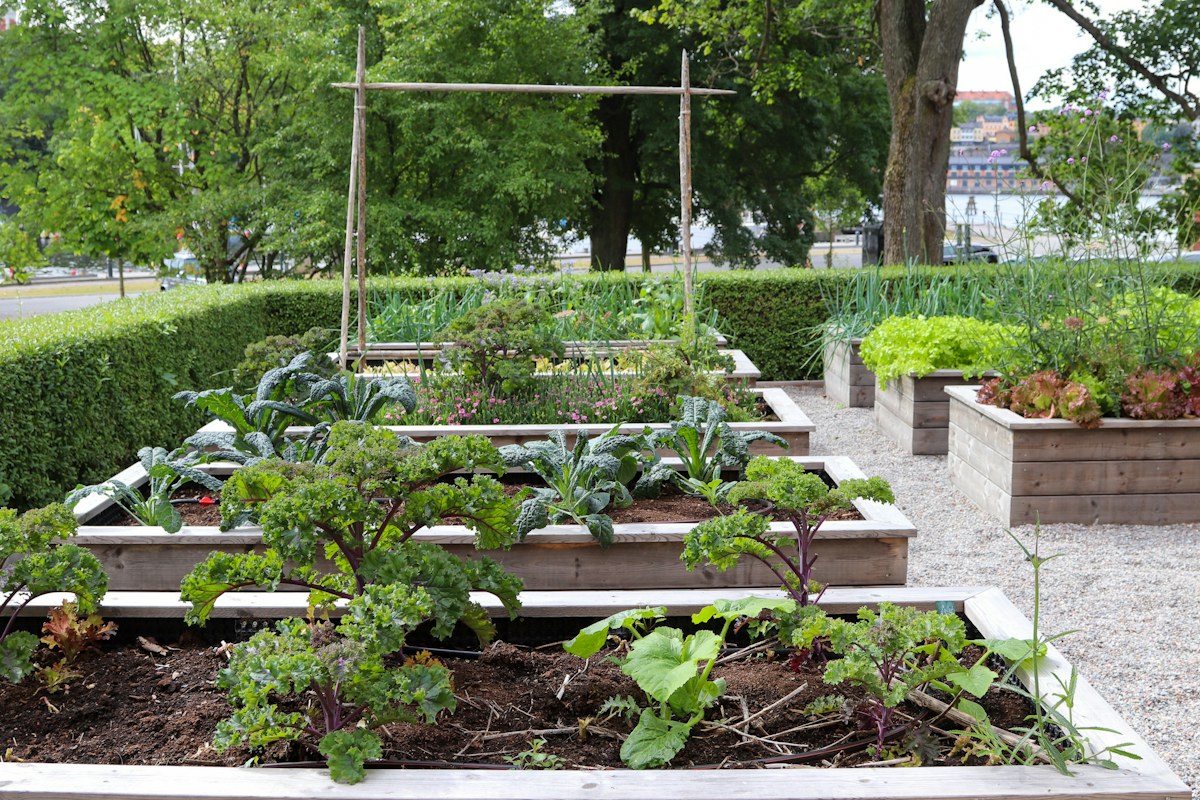
If you build your bed in spring, you can plant cool-season crops almost immediately: lettuce, spinach, arugula, radishes, peas, and kale all germinate in cool soil and tolerate light frost. If you build in early summer, go straight to warm-season favorites like tomatoes, peppers, bush beans, and basil.
For a brand new bed, avoid planting the entire space with one crop. Mix quick-growing crops like radishes and lettuce (harvested in 30 to 45 days) with longer-season crops like tomatoes and peppers (harvested in 60 to 90 days). The quick crops come out first, giving the longer crops room to spread. This succession planting keeps the bed productive from spring through fall.
Spacing matters more in a raised bed than in a traditional row garden, because the soil is so rich that plants grow larger. Follow the seed packet recommendations, but lean toward the wider end of the range if your soil is especially fertile.
Watering and Ongoing Care
Raised beds drain faster than in-ground gardens, which is great for preventing root rot but means you will water more often. In the heat of summer, a deep watering every two to three days is usually enough. A one-inch layer of compost or aged manure scratched into the top of the soil each spring provides most of the fertility your bed will need.
Watch for weeds. They will appear, especially in the first year, but they are easy to pull from loose raised-bed soil. A weekly 10-minute walk through the bed, scouting for pests and harvesting anything ready, will keep problems from getting out of hand.
A Few Upgrades Worth Considering
Once you have used a basic bed for a season, a few inexpensive upgrades can make your life easier. A simple drip irrigation kit on a timer costs around fifty dollars and saves hours of hand watering. Adding a trellis to the north end of the bed gives climbing peas, cucumbers, and pole beans a place to grow vertically. A low hoop house made from PVC pipe and clear plastic extends the growing season by a month on either end.
If you build more than one bed, leave at least two feet between them so you can walk, kneel, and push a wheelbarrow comfortably. Paths mulched with wood chips stay neat and weed-free with almost no maintenance.
Start Small, Learn Fast
A raised bed is a forgiving teacher. The first season is mostly about learning how your microclimate works, which crops your family actually eats, and how much time you really want to spend out there. Many first-time gardeners plant too much, then feel guilty when they cannot keep up. Start with one 4-by-8 bed, grow six to eight crops you know you will use, and add another bed next year if you want more.
By the second weekend of next spring you will be cutting your first homegrown lettuce for a salad, and you will understand exactly why people get hooked on this hobby. A simple wooden frame, a layer of good soil, and a packet of seeds is everything you need to start growing food you can be proud of.